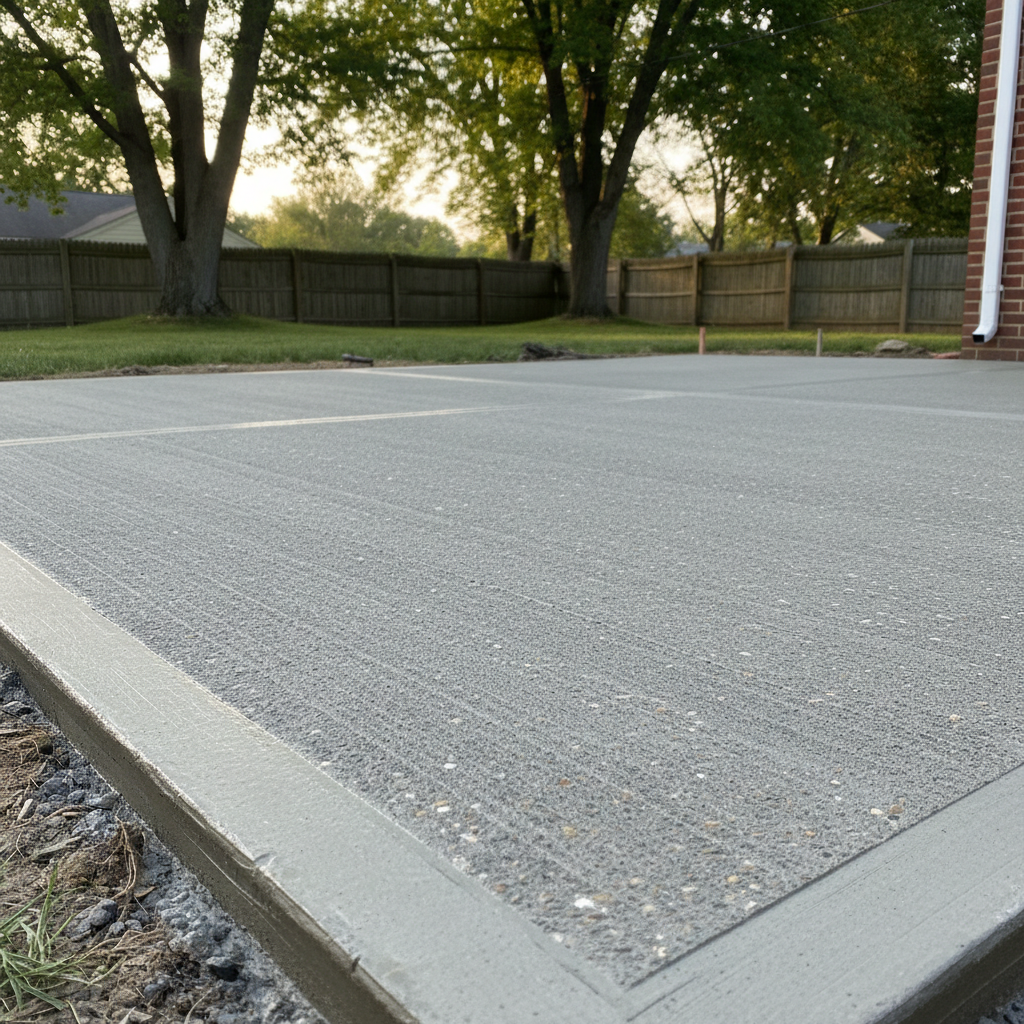
So, you are thinking about adding some Concrete Flatwork around your Cranston home. Maybe it is a new shed slab, or a walkway, or just a small pad for your trash cans. It looks simple enough to do these things. You might think it is just mixing, pouring, and smoothing. But there is more to it than what you might see, especially here in Rhode Island. We have crazy freeze-thaw cycles as well as those clay-heavy soils. Our team has seen plenty of DIY attempts go sideways. We have also seen homeowners successfully tackle smaller projects. Let us break down what you can realistically do yourself. We will also tell you when you absolutely need to pick up the phone and call a professional like us at Synergy Concrete & Masonry.
Before You Even Think About Mixing
Preparation is important in Concrete Flatwork. It is probably 80% of the battle. If you skimp here, you are asking for trouble later on. We are talking about cracks as well as uneven surfaces as well as drainage problems.
Permits: Do Not Skip This Step
First things first, you should check with the City of Cranston Building Department. For anything significant, like a new driveway or a structural slab, you will likely need a permit. They will want to see plans. They will definitely want to inspect things like erosion control as well as setbacks as well as soil compaction before any concrete gets poured. Our team knows that a $500 penalty for working without a permit is not how you want to start your project. A $50 re-inspection fee for not having things ready is also not good.
Site Prep: The Unsung Hero
This is where many DIYers get into trouble. A Concrete Flatwork slab is only as good as what is underneath it. You need to do these things:
- Clear the Area: You must get rid of all vegetation as well as debris as well as old concrete. You want bare earth.
- Excavate: You need to dig down to the right depth. For most residential slabs, you are looking at about 7 inches total. This means 3 inches for a gravel base and 4 inches for the concrete. For driveways or heavy-load areas, or if you have that notorious Cranston clay, you might need a deeper base. This could be 10-12 inches.
- Grade and Slope: This is important for drainage. You need a slight slope, at least 1/8 inch per foot. This is to direct water away from your house. Eyeballing it will not work. You should use a string line and a level.
- Compact the Subgrade: This means the native soil. You need it firm and solid. A plate compactor is your best tool here. Poorly compacted soil leads to settling and cracks.
- Add a Gravel Base: You should lay down 4-6 inches of crushed gravel. Do not use pea gravel. Crushed stone locks together better when it is compacted. This helps with drainage as well as stability. You must compact this layer too.
- Set Forms: You need to build sturdy forms out of lumber to contain your concrete. Make sure they are level as well as securely braced.
- Reinforcement: For anything beyond a tiny pad, you will want rebar or wire mesh. This adds tensile strength. It also helps control cracking.
DIY vs. Pro on Prep: Small, non-structural pads might be doable for a handy homeowner. This includes pads for a small shed or a trash can. But for anything larger, or load-bearing, or where proper drainage is important, Synergy Concrete & Masonry recommends a professional. This is especially true for areas next to your house. We have the heavy equipment as well as the experience with Cranston's specific soil conditions as well as the know-how to get that base perfect.
During the Pour: The Race Against Time
Once you start mixing concrete, the clock is ticking. You have about 30-60 minutes before it starts to set. This is not a project you can pause and come back to later.
Mixing and Pouring
- Mix Right: If you are using bagged concrete, you must follow the instructions precisely. Too much water weakens the concrete. For larger projects, you will be ordering ready-mix concrete. Make sure the mix design is right for our climate. We often use a 4000 PSI mix with air entrainment. This resists those freeze-thaw cycles.
- Pour Evenly: You need to get the concrete into the forms quickly. You also need to spread it out.
- Screed and Float: You should use a screed board to level the surface. Then, you use a bull float to smooth it out. This also brings the